
3 Ways to Spice Up Your At-Home Floral Arrangements
Wow, where is the summer going? I feel like I blinked and I'm staring down start of school. I have to tell you though, I am really excited about some stuff that we're working on for the blog here. So let's get to it!
You all know I love flowers and so I wanted to share some of my favorite ways to take your arrangements to the next level!

Adding lemons in the vase of your florals add an extra level of detail that is extra eye-catching!
Your flowers are not the only thing that will make a floral arrangement stunning. Lining the vase give you a way to make your flowers stand out and add extra details. I love using lemons or limes because of their vivid color but you can also use leaves or other greenery.
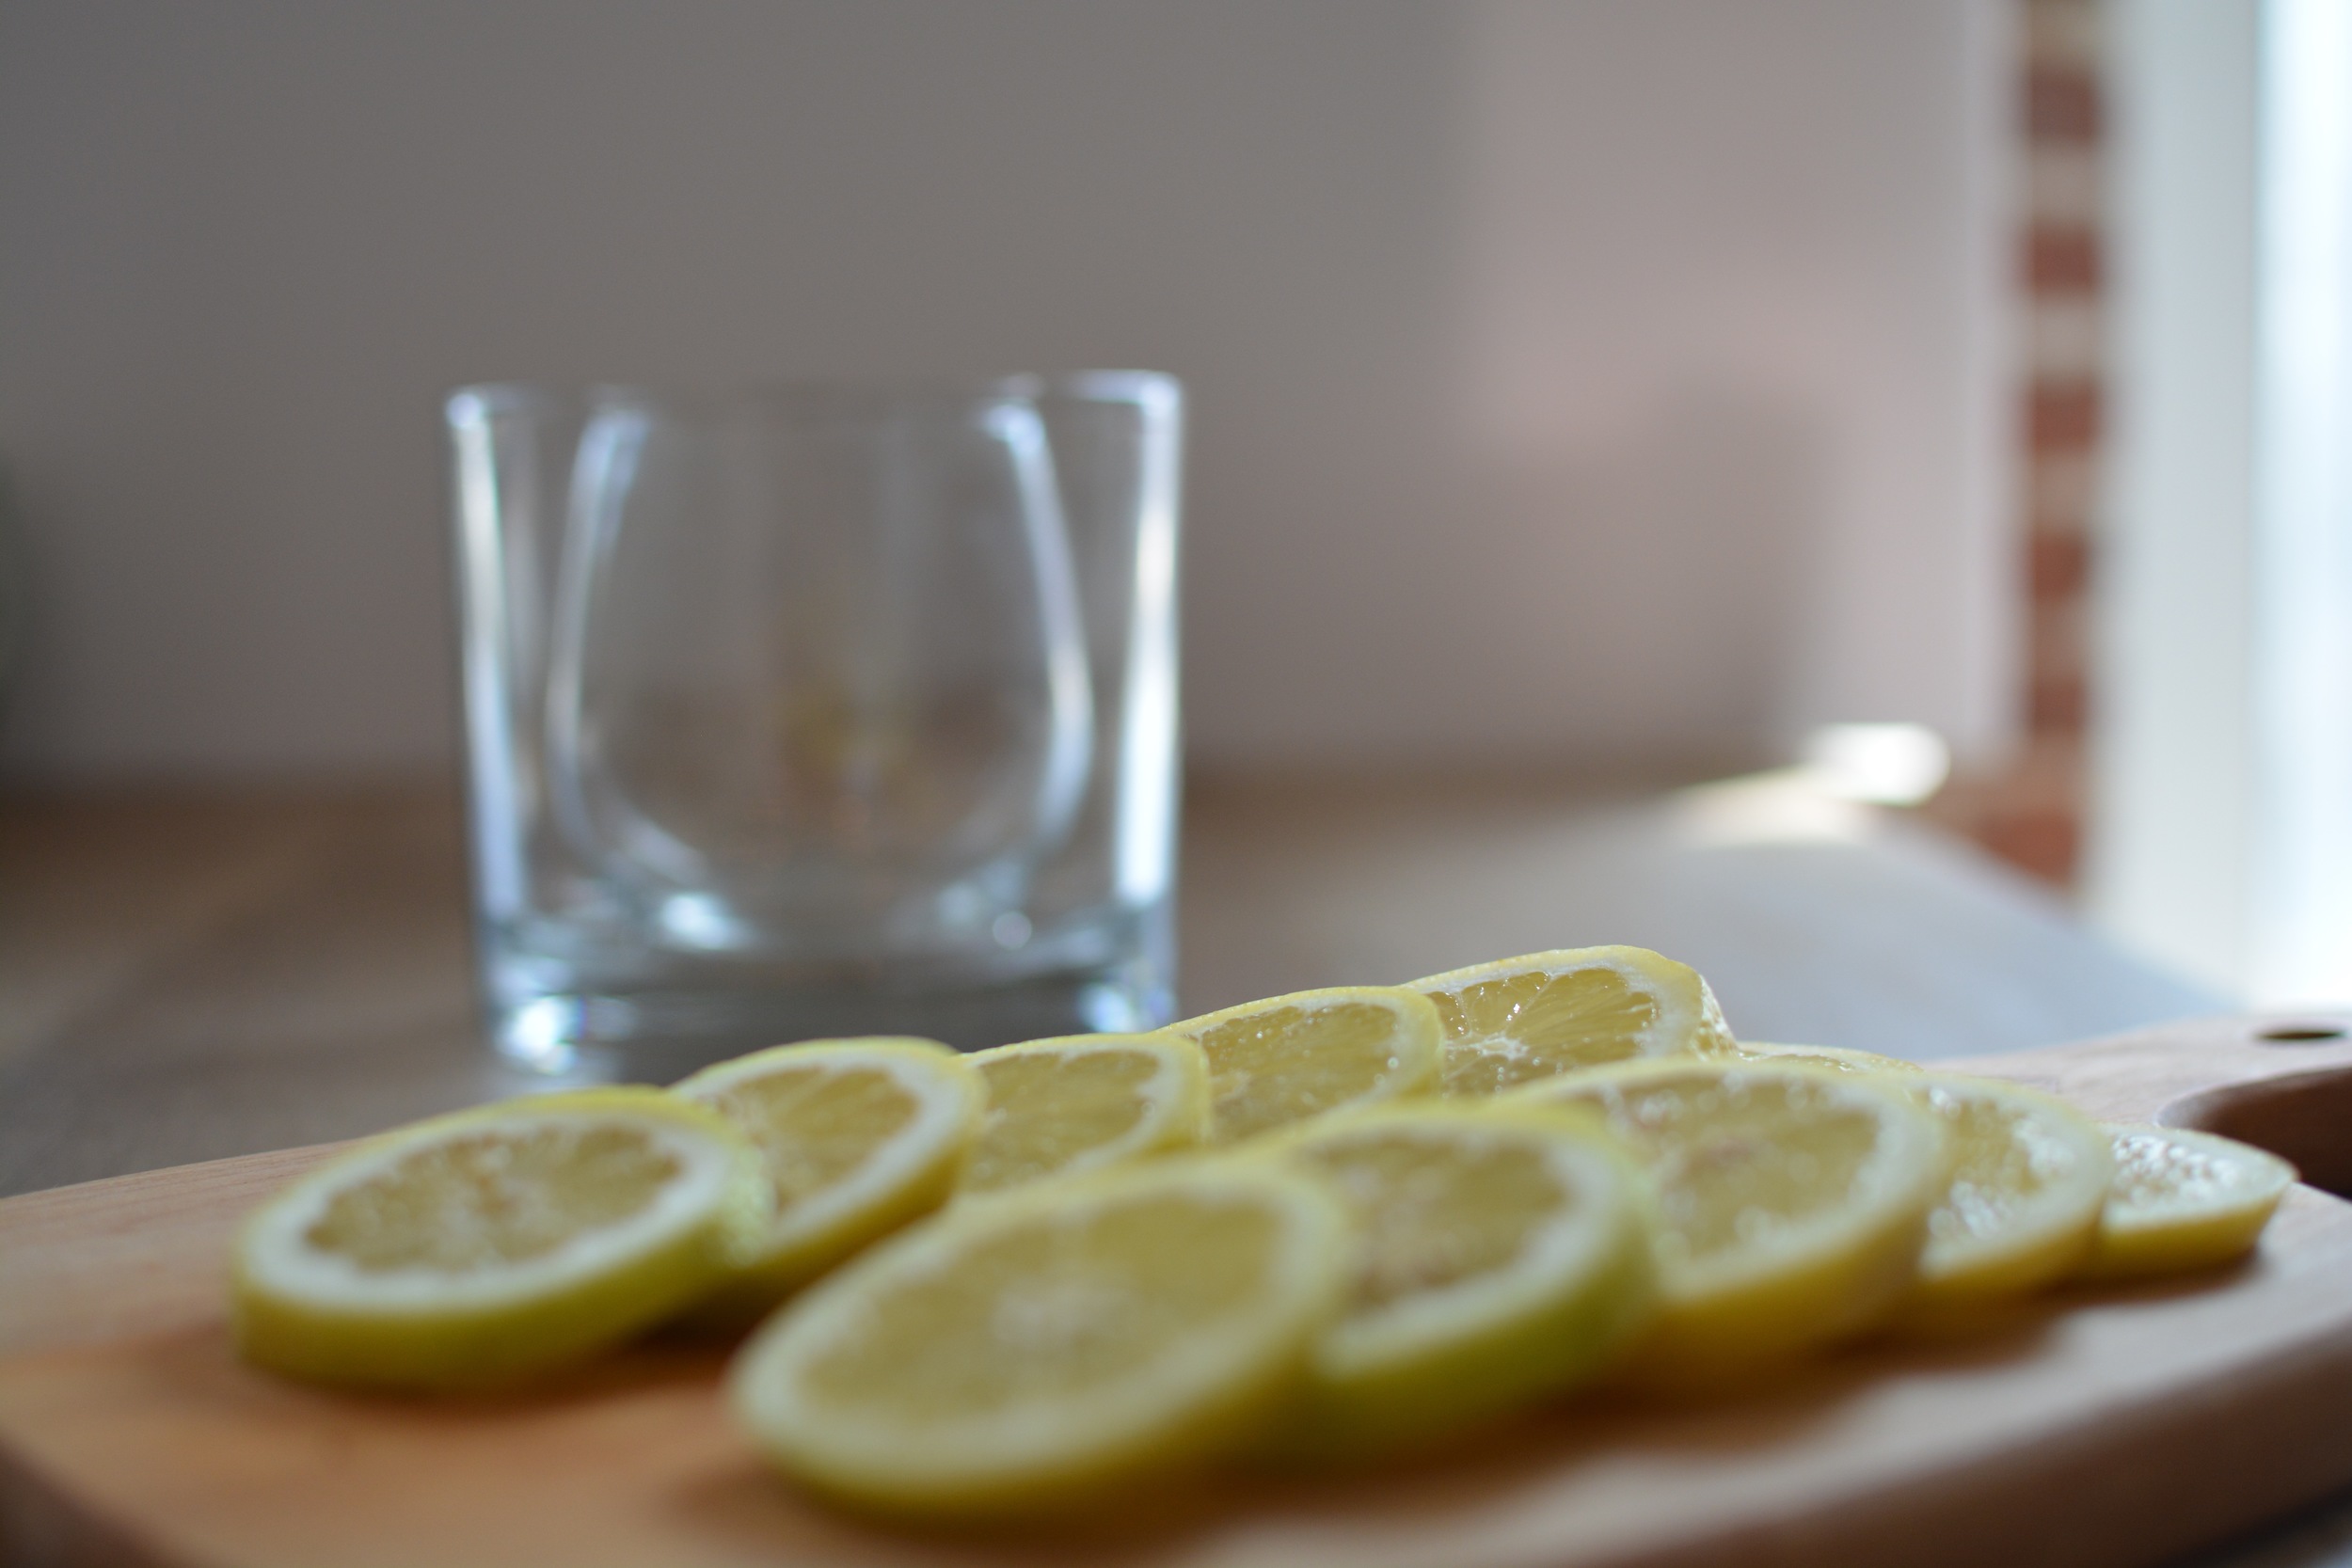
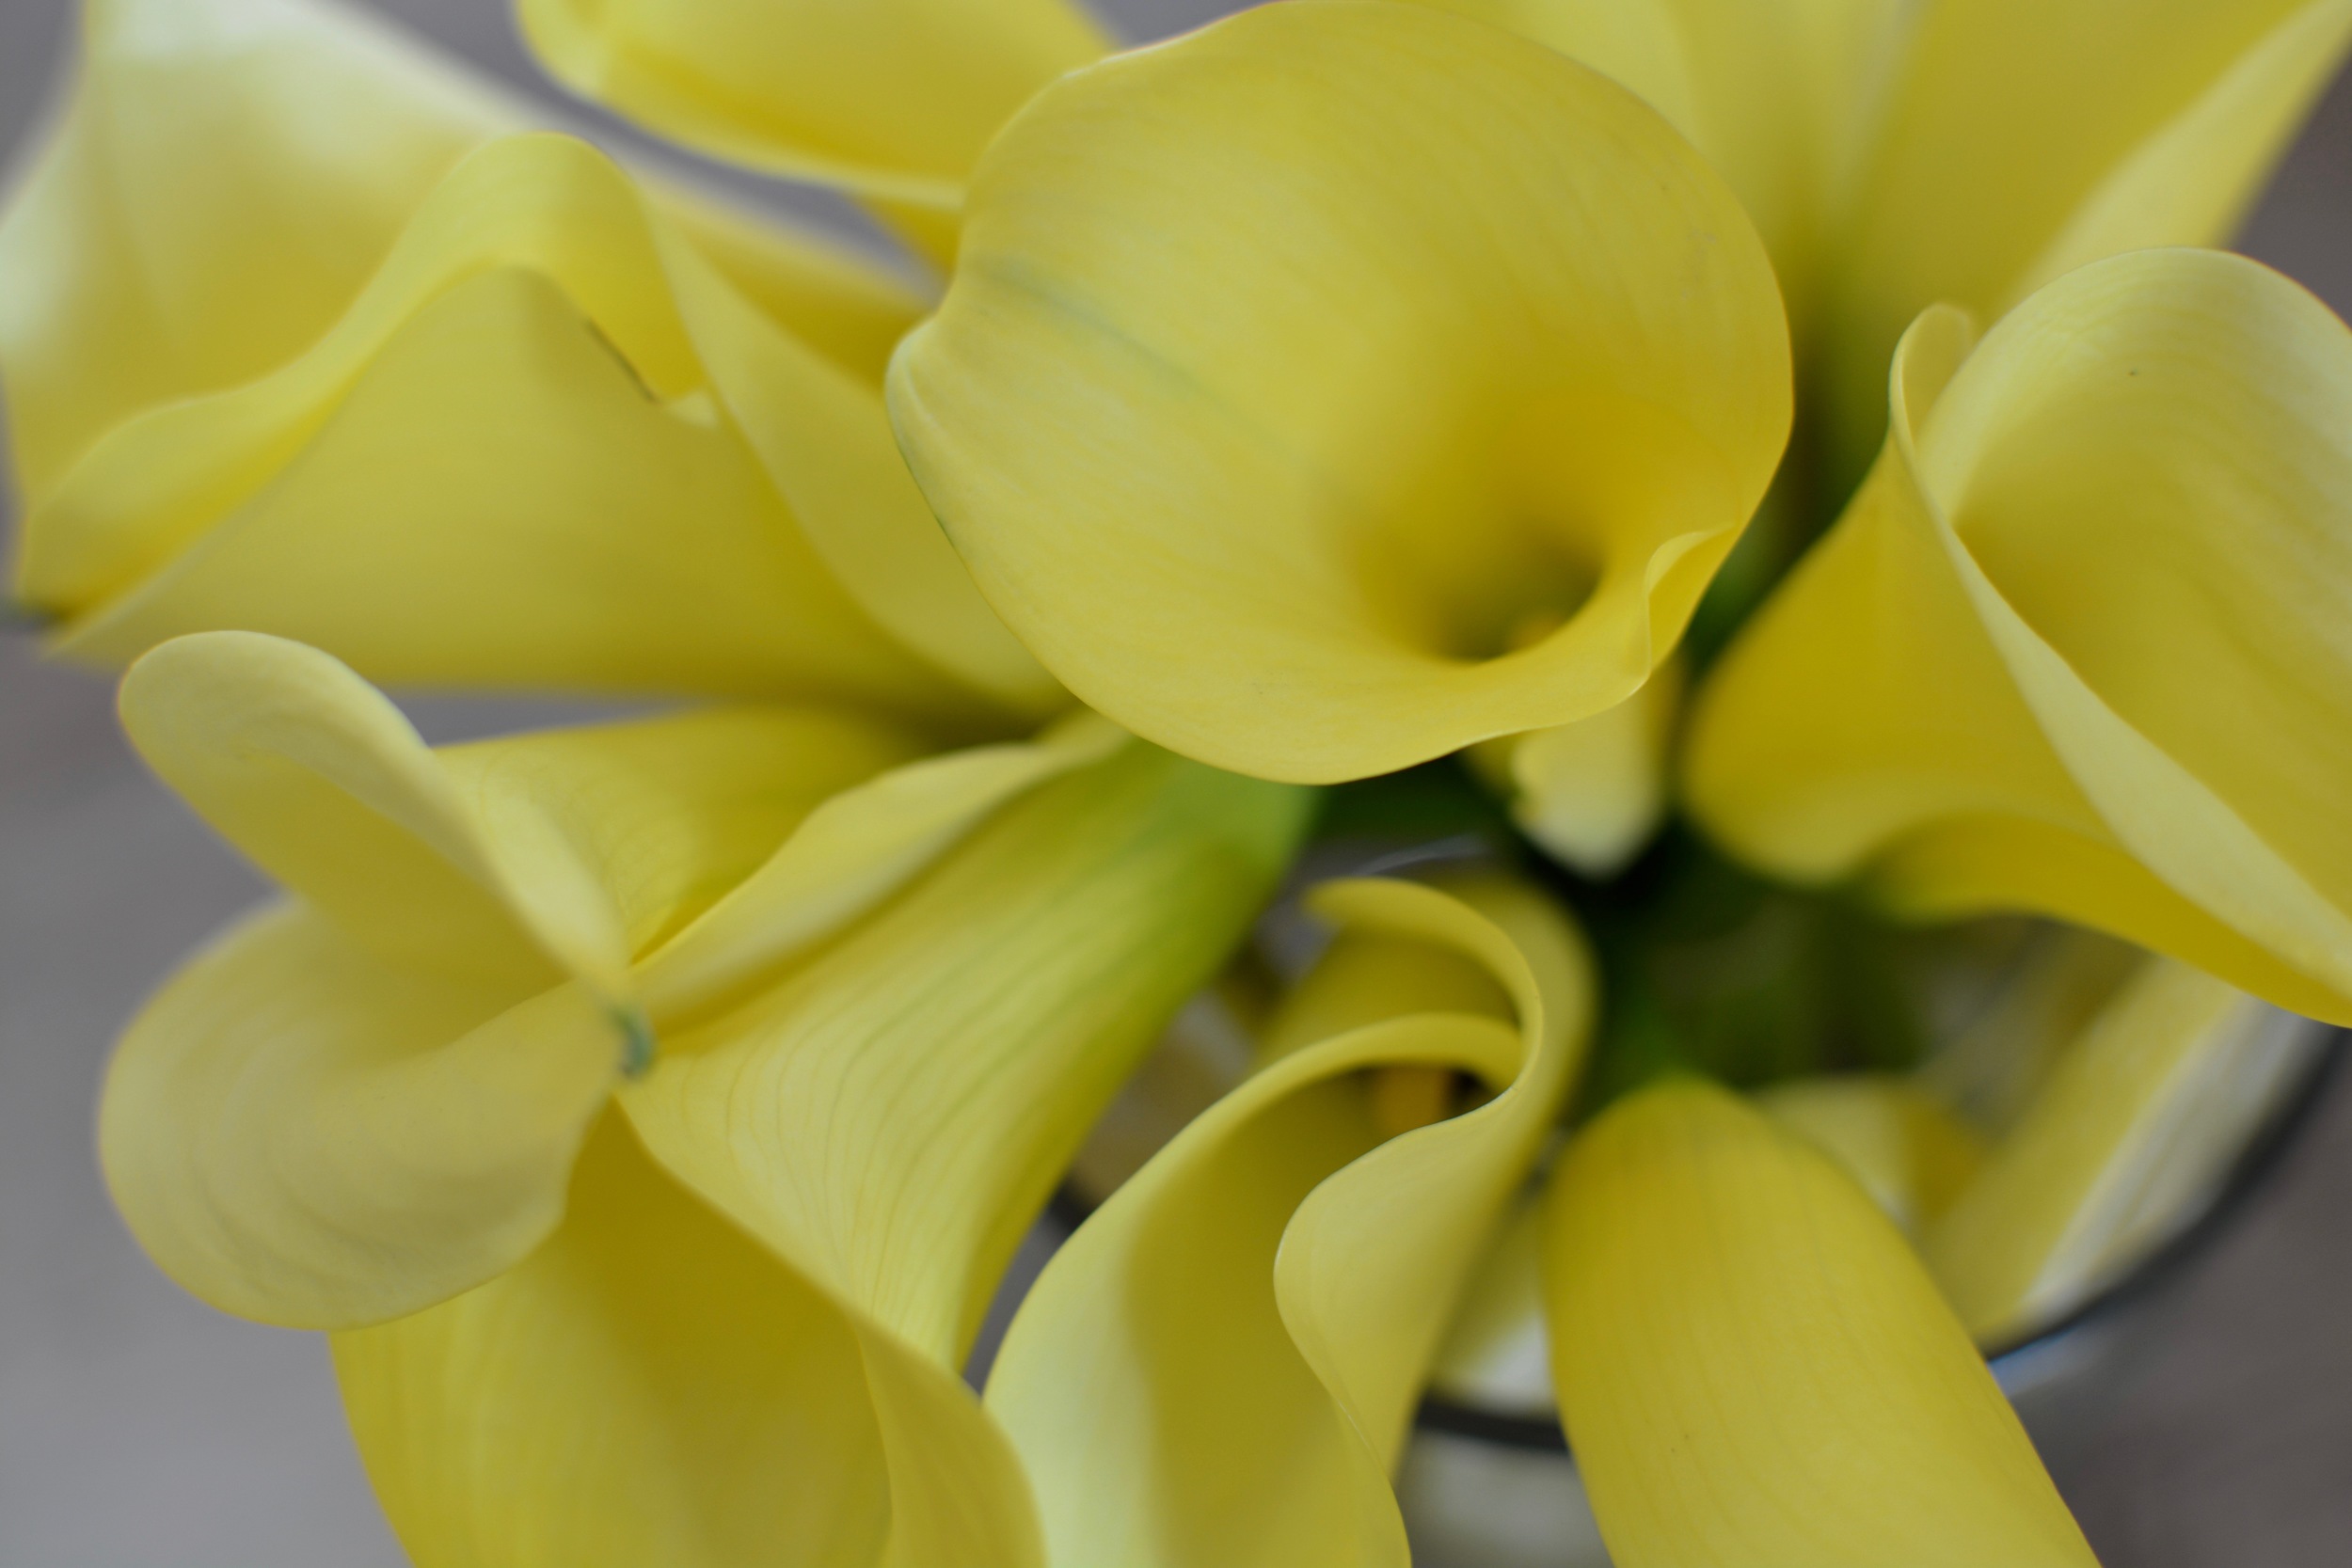
The trick to this look is to nest a smaller vase within your larger one. As you can see in the photo on the left, I had a glass sitting inside of the vase between which I could place the lemon slices. This allows you to arrange your lemons, or whatever vase liner is relevant, and you don't have to have the floating in water with your flowers. If you look closely at the photo on the left, you can see the slices of lemon hidden in the vase beneath those beautiful calla lilies.

Mason jars were really popular a few years ago and for good reason- they are easy to find and affordable and offer all sorts of opportunities for personalization.
I do not typically advise my clients to take on too many DIY projects for their weddings because often the stress added isn't offset by the money saved. But for entertaining at home, there are a handful of projects that can be totally worth the time. I customized my mason jars with gold paint to add some glitz to my arrangements. Make sure to tackle this project days before your party because sometimes the paint takes a while to dry.
In terms of steps, this idea is very basic: 1. Pour paint into mason jar (Or pour paint out into a paint tray - if you'd rather coat the outside of the jar). 2. Swirl paint around inside jar (Or roll the jar around in the paint - just focus on the bottom third of the jar because of the way the paint will drip). 3. Let jar dry. If you are painting the inside, I would recommend lying the jar on one side and rolling it ever 15 minutes to keep the coating even. If you painted the outside, flip the jar upside down and let the paint drip down (or up) the sides.

My DIY gold painted Mason Jar.
After the paint is dry you are ready to arrange your flowers in your new beautifully painted vase. I thought this jar came out only okay because you lost quite a bit of the luster of the gold paint through the glass. Nevertheless it would be a cool way to incorporate color into floral arrangements in ways other than the flowers.

Finished Product!
I loved being able to incorporate metallics into this arrangement since they are a color category that are usually a little harder to weave into florals.
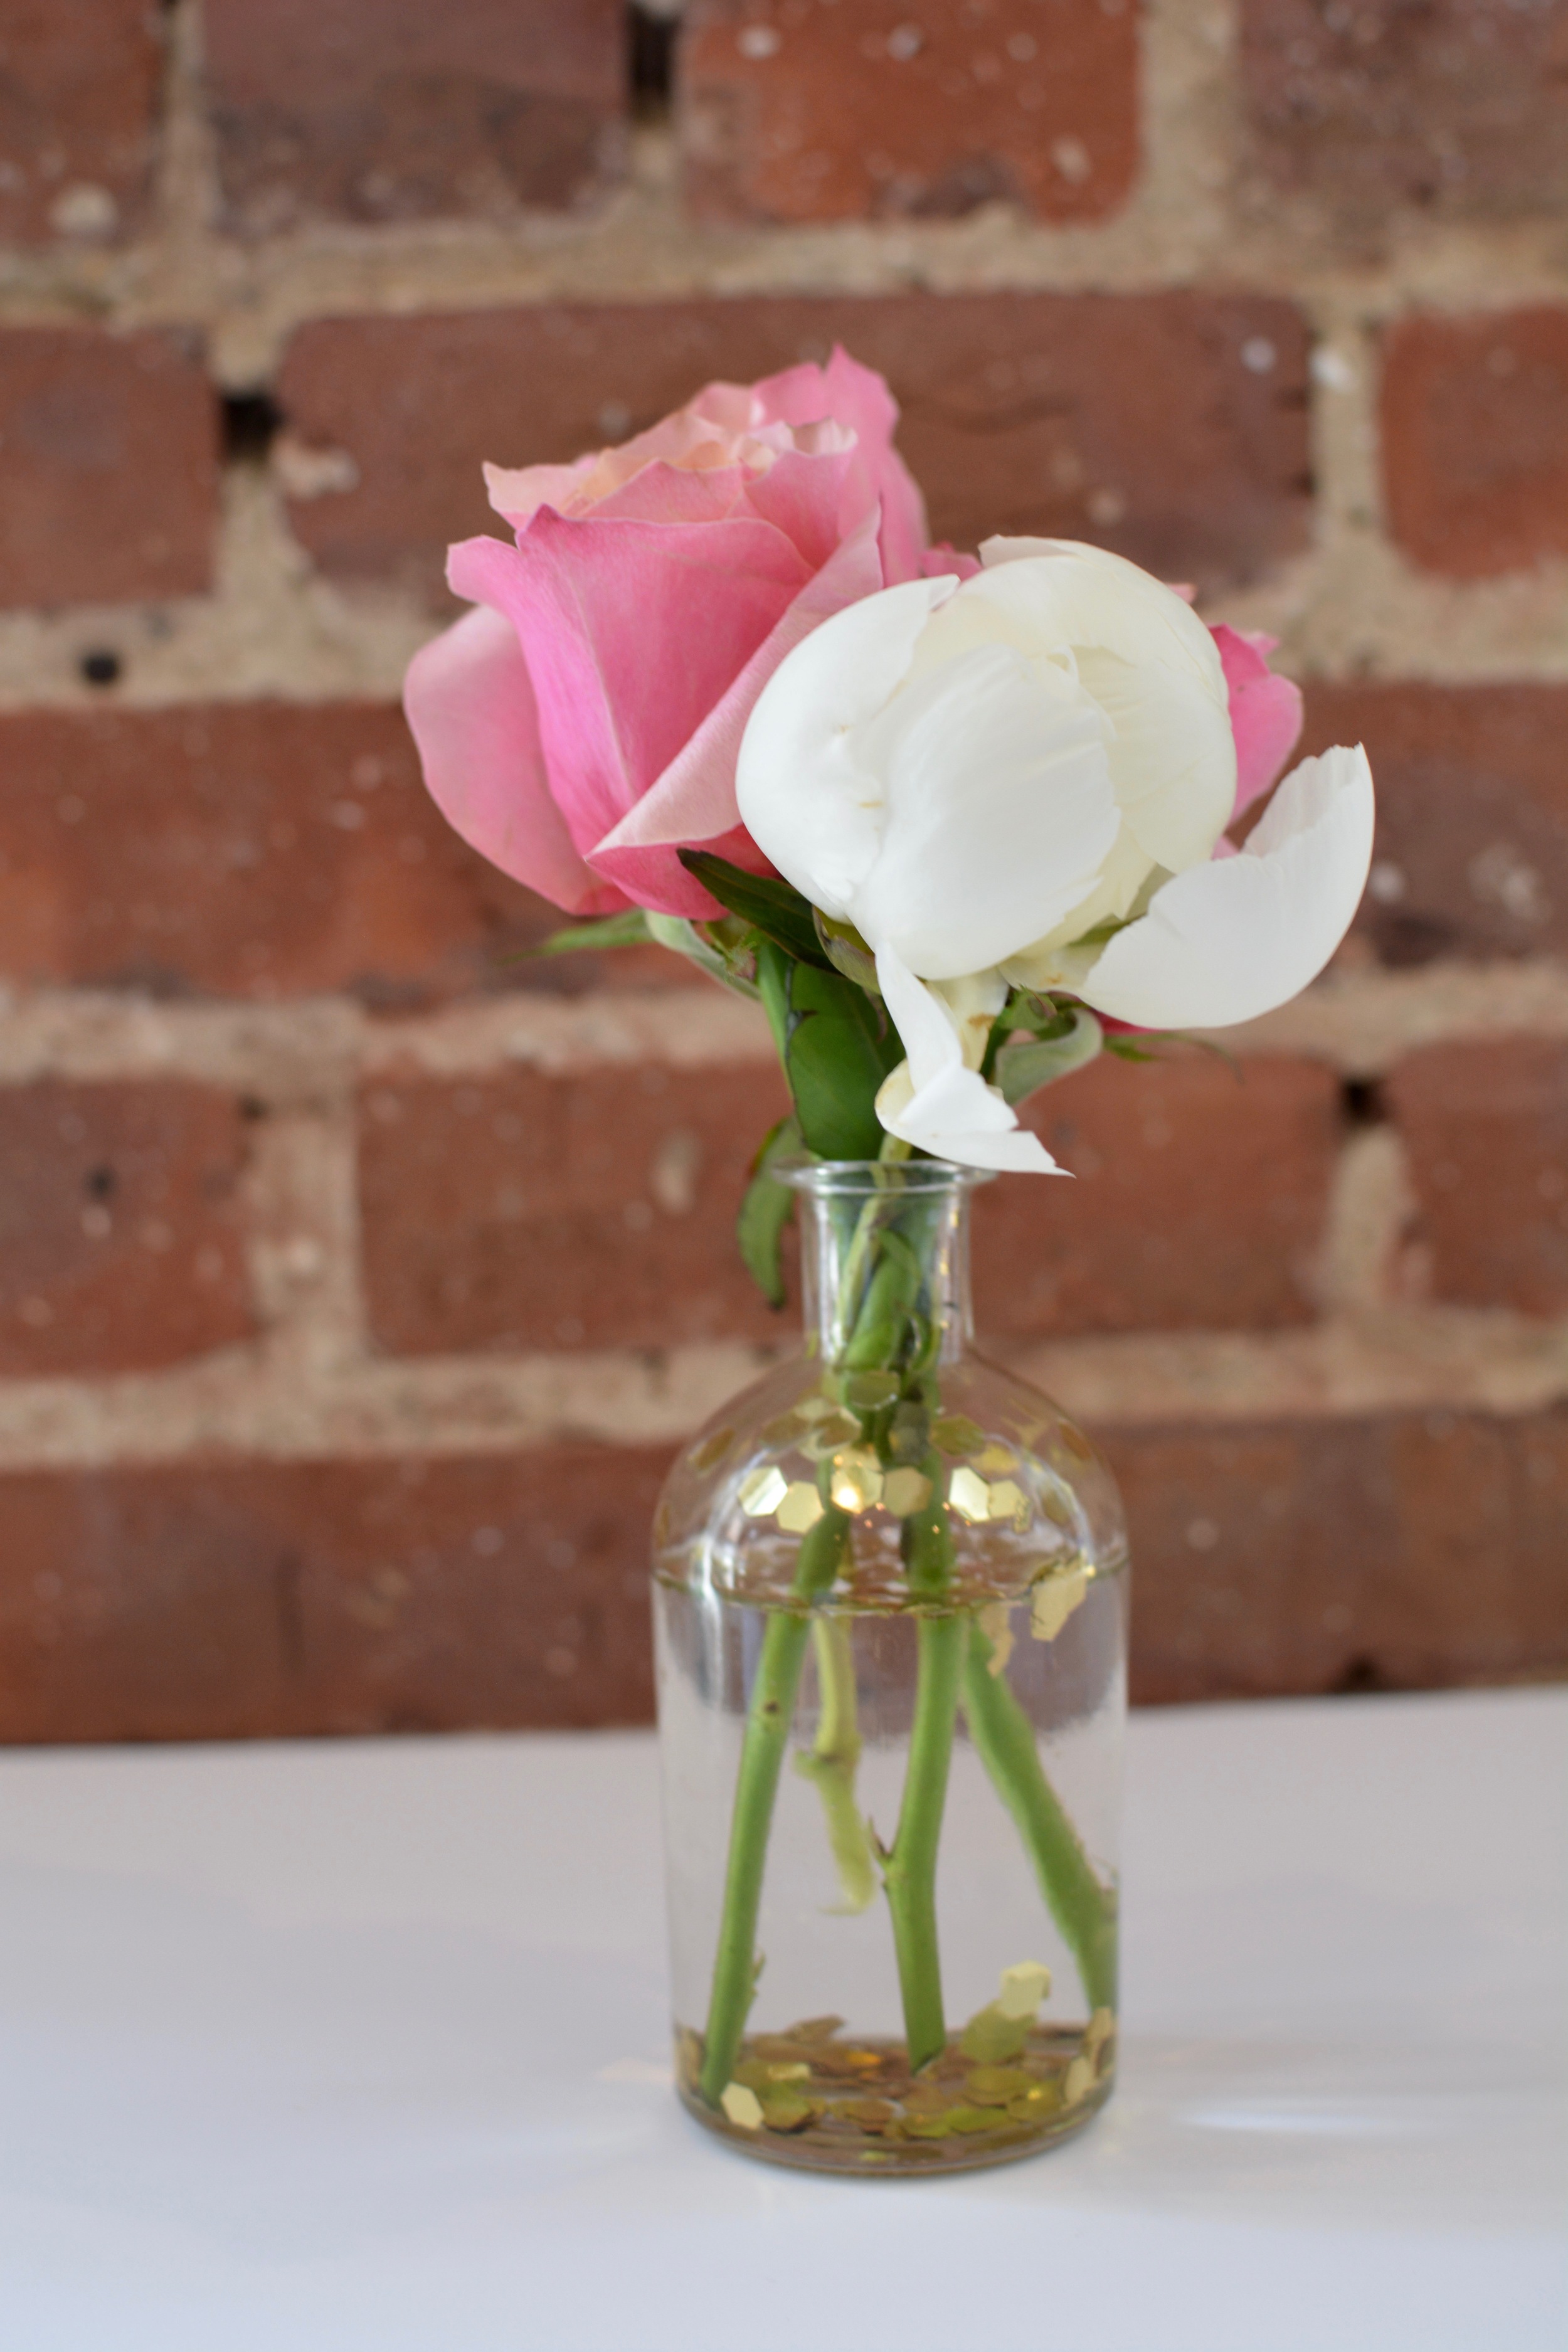
Who doesn't love a little glitter?
Another way to add some metallics to your florals (or any color!) is with some glitter! This idea is super simple to execute and can be interpreted with any variation of glitter! I prefer the larger pieces of glitter/sequins because they show up better in the water and tend to cling better. I find this detail works better in smaller arrangements because people are more inclined to look closer.
Of course, I'd be pleased with having fresh flowers around my home in any variety but these are some cool ways to add some variety!